
Most homemade potstickers stick, tear, or turn out with filling that’s either too wet or too dense — usually because the pork is too lean or the wrapper technique leaves air pockets that burst in the pan. This recipe fixes both: use pork with at least 20% fat, season the filling until it sticks together, and learn the fold that seals every dumpling tight.
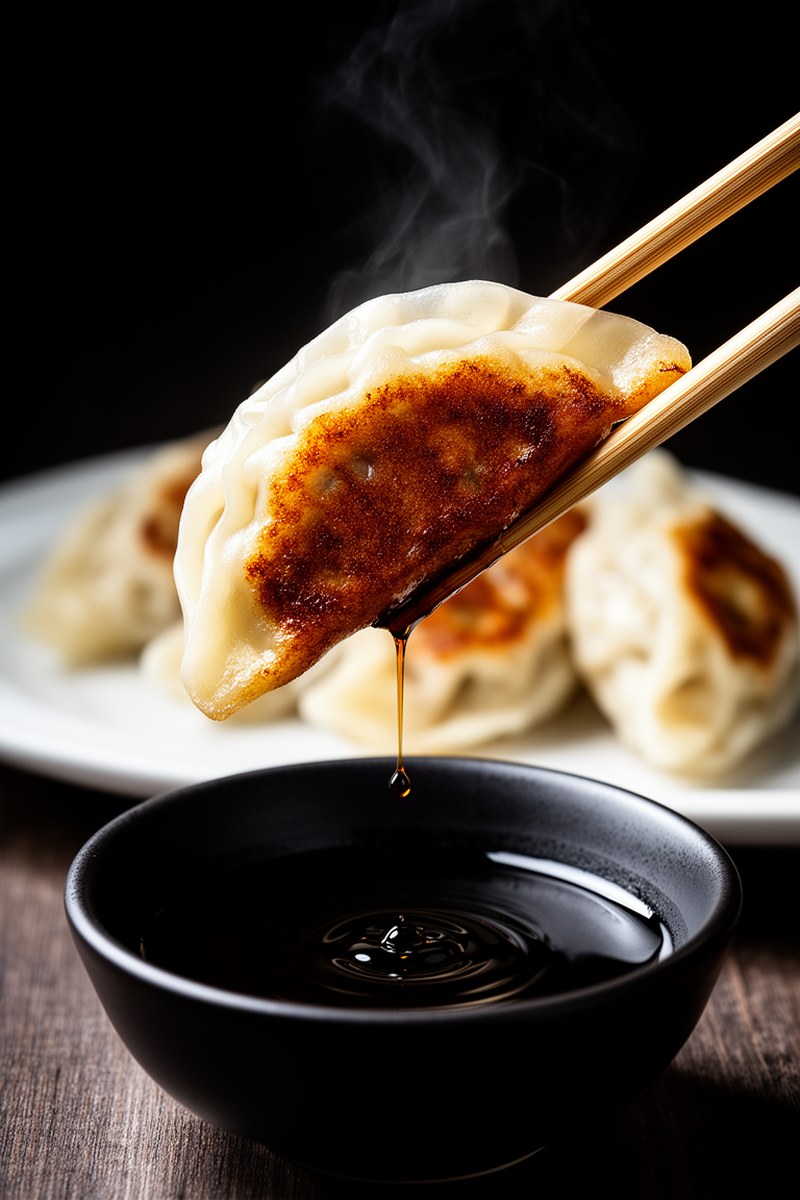
Potstickers are pan-fried dumplings with a two-stage cooking method: you fry the bottom in oil to get a golden crust, then add water and cover to steam the filling through, then uncover to crisp the bottom again. The result is a dumpling with a crunchy, lacquered underside and a tender, juicy top — which is why they’re called “potstickers” in English. The Chinese name, guotie, means “pot stick” for exactly the same reason.
This recipe makes about 24 dumplings — enough for 4 people as an appetizer or 2 as a main. The technique looks involved on paper but becomes fast after the first few: most home cooks can fold a potsticker in under 30 seconds once the motion is familiar.
Origins of Potstickers
The origin story of potstickers is one of those kitchen accidents that became a classic. According to the most common version, a palace cook in northern China left a batch of dumplings on the stove too long and they burned to the pot — but instead of throwing them away, he served them to the emperor, who liked the crispy bottom. Whether true or apocryphal, the crispy-bottomed dumpling style became a distinct category from boiled and steamed dumplings, and has been a staple of northern Chinese cooking for centuries.
The dish arrived in the United States largely through Taiwanese and mainland Chinese immigration in the 20th century. “Potsticker” became the standardized English name, and the dish is now common enough that most grocery stores carry round dumpling wrappers specifically sized for the fold.
Ingredients
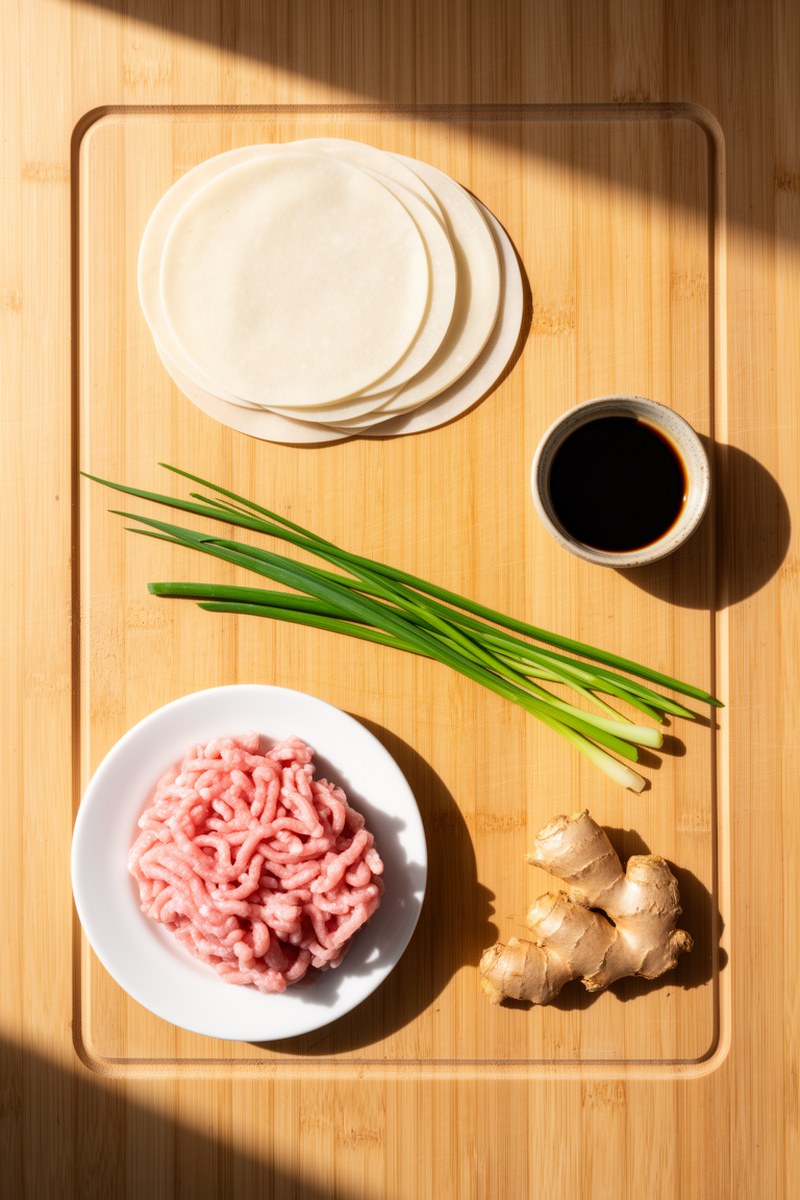
The filling starts with ground pork — and the fat content matters significantly. You want pork with good fat content (regular ground pork, not the lean stuff) because it keeps the filling juicy and flavorful after cooking. Lean ground pork or turkey produces a dry, crumbly filling that tastes closer to meatloaf than a proper dumpling. Fresh chives should be minced fine; if they’re cut too chunky they poke through the wrapper during folding. Ginger adds brightness and cuts the pork richness.
For the wrappers, round dumpling wrappers (labeled “potsticker wrappers” or “gyoza wrappers” at Asian grocery stores) are the right choice. Wonton wrappers are too thin and square-shaped. If you want to make wrappers from scratch, it’s doable — you’ll mix flour with boiling water and rest the dough — but store-bought wrappers work perfectly and save significant time.
Pan Fried Pork and Chive Potstickers
Ingredients
For the Filling
- 1 lb ground pork (80/20 or regular) at least 20% fat content
- 1/2 cup fresh chives minced fine
- 1 tbsp ginger grated
- 2 tbsp soy sauce
- 1 tbsp sesame oil
- 1 pinch white pepper
- 2 tbsp water
For Cooking
- 24 pieces round dumpling wrappers (potsticker or gyoza wrappers)
- 3 tbsp neutral oil for pan frying
- 1/3 cup water for steaming per batch
For Serving
- 3 tbsp soy sauce for dipping sauce
- 2 tbsp rice vinegar for dipping sauce
- 1 tbsp sesame oil for dipping sauce
- 1 tsp chili oil for dipping sauce
- 1 pinch sugar for dipping sauce
Instructions
- Combine 1 lb ground pork, 1/2 cup minced chives, 1 tbsp grated ginger, 2 tbsp soy sauce, 1 tbsp sesame oil, a pinch of white pepper, and 2 tbsp water in a bowl.
- Mix by hand or fork in one direction (clockwise or counterclockwise consistently) for 2 minutes. This develops myosin proteins and creates a bouncy, cohesive texture instead of crumbly filling. The mixture should stick to itself when pressed.
- Test the filling seasoning before committing to all 24 dumplings: fry a small ball in a dry pan for 2 minutes and taste. Adjust salt, ginger, or sesame oil as needed.
- Hold a round dumpling wrapper in your non-dominant hand. Place a rounded teaspoon of filling in the center with a 1/2-inch border on all sides.
- Dip your finger in water and run it around the entire edge of the wrapper to wet the border.
- Fold the wrapper in half over the filling to form a half-moon shape. Press the two edges together at the top center first.
- Pleat the front edge toward the back in 3 to 5 small folds, pressing firmly to seal after each pleat. The finished dumpling should sit flat on its sealed edge without falling over.
- Heat a non-stick or well-seasoned skillet over medium-high heat. Add a thin layer of neutral oil until shimmering.
- Arrange potstickers flat-side down in the pan without touching each other. Fry undisturbed for 2 to 3 minutes until the bottoms are golden and visibly crisped. You will see the color change through the pan sides.
- Add 1/3 cup (80ml) of water per batch — it will steam aggressively. Cover immediately with a lid.
- Reduce heat to medium and steam for 5 to 6 minutes until all water has fully evaporated. Do not remove the lid early or steam will escape.
- Remove the lid and increase heat to medium-high. Cook another 1 to 2 minutes until the bottoms re-crisp. The filling has reached 160°F (71°C) at food-safe temperature.
- Use a thin spatula to test if the potsticker releases cleanly from the pan. If there is resistance, wait 30 more seconds and test again. Do not force them — forcing tears the wrapper.
- Slide potstickers onto a plate browned-side up. Serve immediately while bottoms are still crispy.
- Prepare dipping sauce: combine 3 tbsp soy sauce, 2 tbsp rice vinegar, 1 tbsp sesame oil, 1 tsp chili oil, and a pinch of sugar. Mix well.
- Serve potstickers browned-side up with dipping sauce on the side. Plan for 5-6 per person as an appetizer or 10-12 per person as a main dish.
Notes
How to Make Pan Fried Potstickers
Step 1 — Season and test the filling
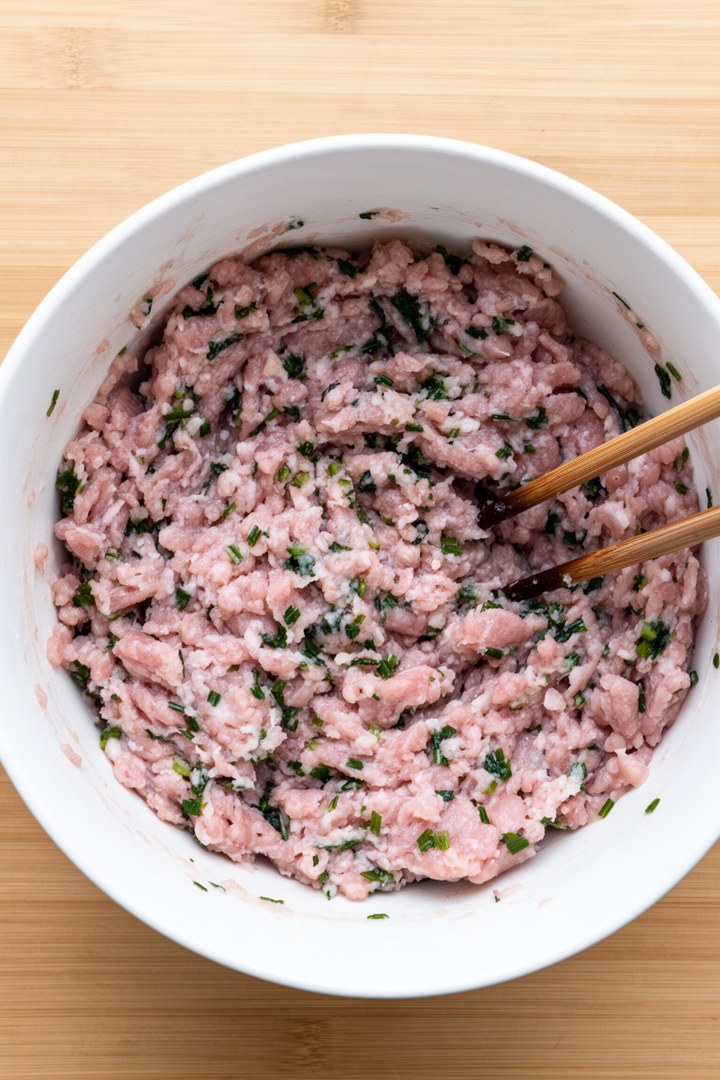
Combine ground pork, minced chives, grated ginger, soy sauce, sesame oil, a pinch of white pepper, and a small amount of water in a bowl. Mix by hand or with a fork in one direction — this develops the myosin proteins in the pork and gives the filling a bouncy, cohesive texture rather than crumbling. The filling should stick to itself when pressed. To check the seasoning before you’ve committed to 24 dumplings: fry a small ball of filling in a dry pan for 2 minutes and taste. Adjust salt (soy sauce), ginger, or sesame oil before filling the wrappers.
Step 2 — Fill and fold
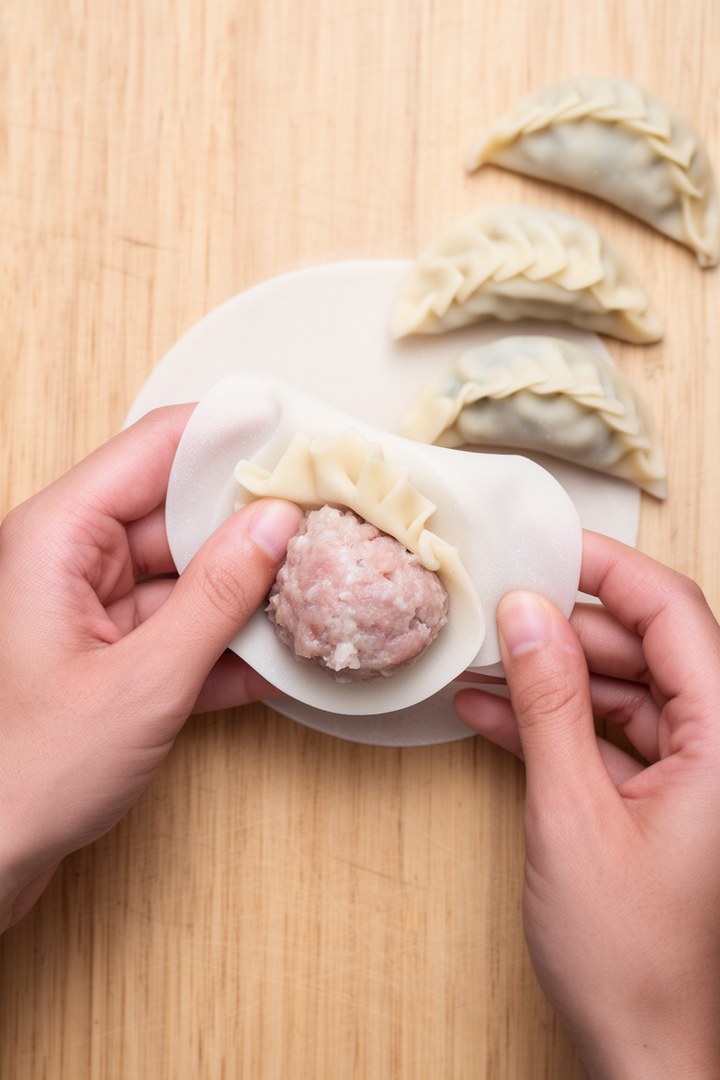
Hold a wrapper in your non-dominant hand. Place a rounded teaspoon of filling in the center — resist the urge to overfill; a small mound centered with a ½-inch (1.5cm) border on all sides is correct. Dip your finger in water and run it around the entire edge of the wrapper. Fold the wrapper in half over the filling to form a half-moon shape, pressing the two edges together at the top center first. Then pleat the front edge toward the back in 3 to 5 small folds, pressing firmly to seal. The finished dumpling should sit flat on its sealed edge without falling over — this means the pleat side is even and the bottom is flat for even browning.
Step 3 — The two-stage pan-fry
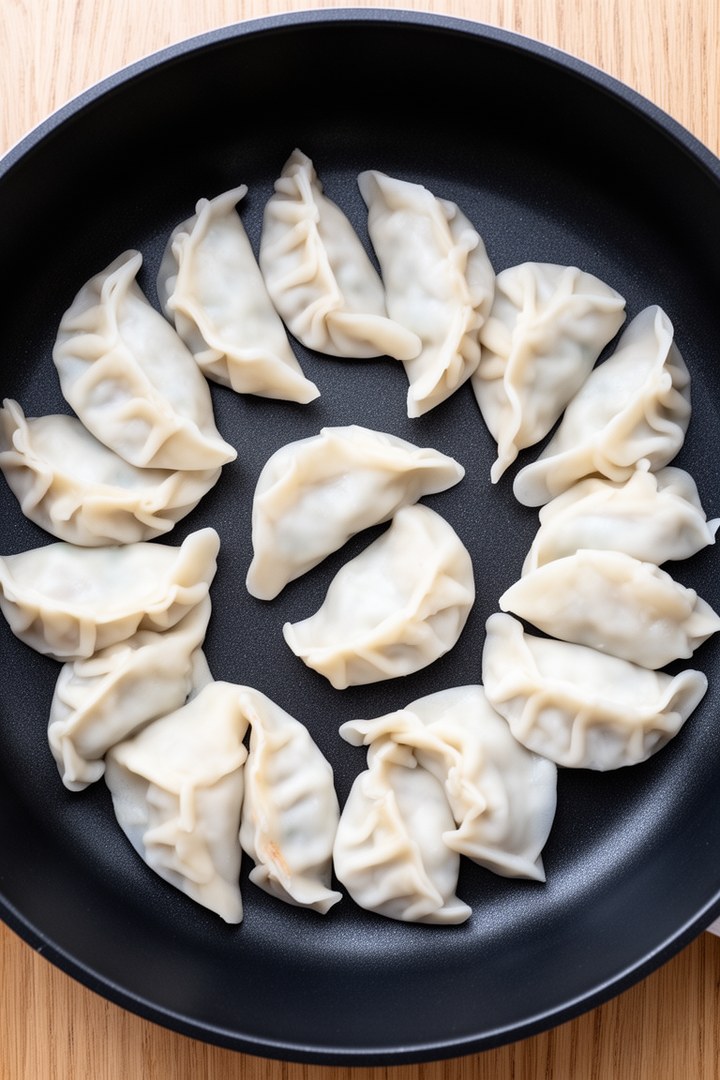
Heat a non-stick or well-seasoned skillet over medium-high heat. Add a thin layer of neutral oil and arrange the potstickers flat-side down in the pan without touching. Fry undisturbed for 2 to 3 minutes until the bottoms are golden and visibly crisped — you’ll see the color change through the pan sides. Add ⅓ cup (80ml) of water per batch (it will steam aggressively), cover immediately with a lid, and reduce heat to medium. Steam for 5 to 6 minutes until the water has fully evaporated. Remove the lid, increase heat to medium-high, and cook another 1 to 2 minutes until the bottoms re-crisp. Slide onto a plate browned-side up.
Step 4 — Steam under lid
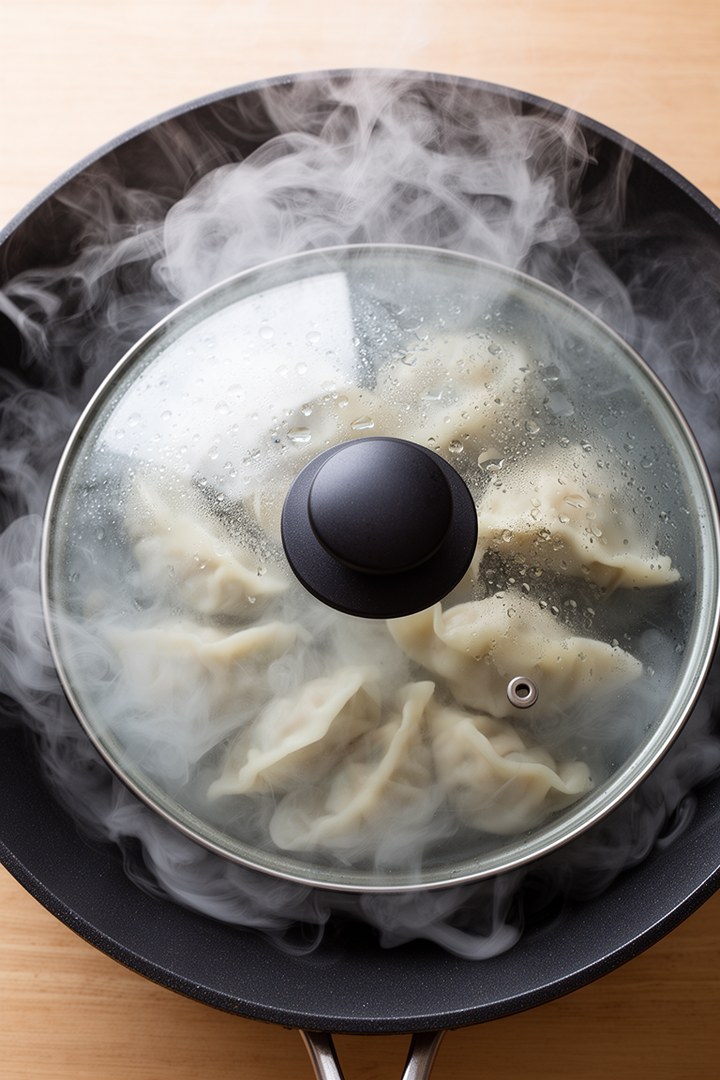
Add ⅓ cup (80ml) of water per batch — it will steam aggressively, so cover immediately with a lid. Reduce heat to medium and steam for 5 to 6 minutes until the water has fully evaporated. Resist the urge to lift the lid to check progress; any steam that escapes extends the cooking time and can leave the wrappers unevenly cooked.
Step 5 — Re-crisp to deep golden
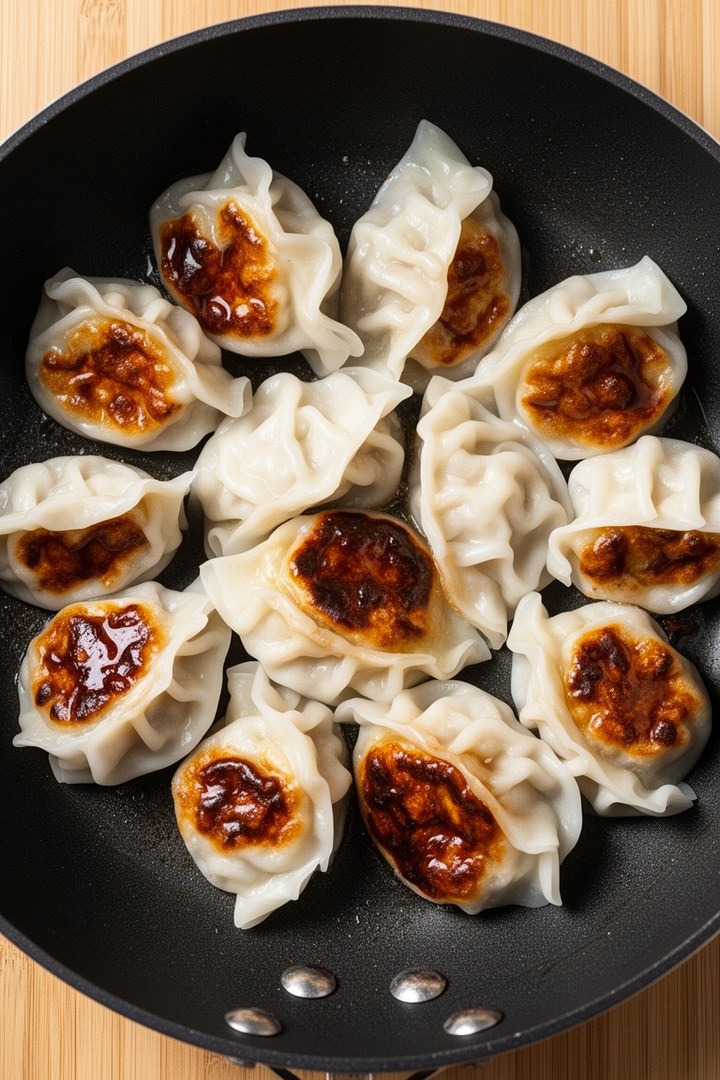
Remove the lid and increase heat to medium-high. Cook another 1 to 2 minutes until the bottoms re-crisp and deepen to a richer golden brown — the filling has now reached a food-safe 160°F (71°C). Test with a thin spatula to make sure the potsticker releases cleanly from the pan; if there’s resistance, wait 30 more seconds and try again rather than forcing it, which can tear the wrapper.
Step 6 — Served with dipping sauce
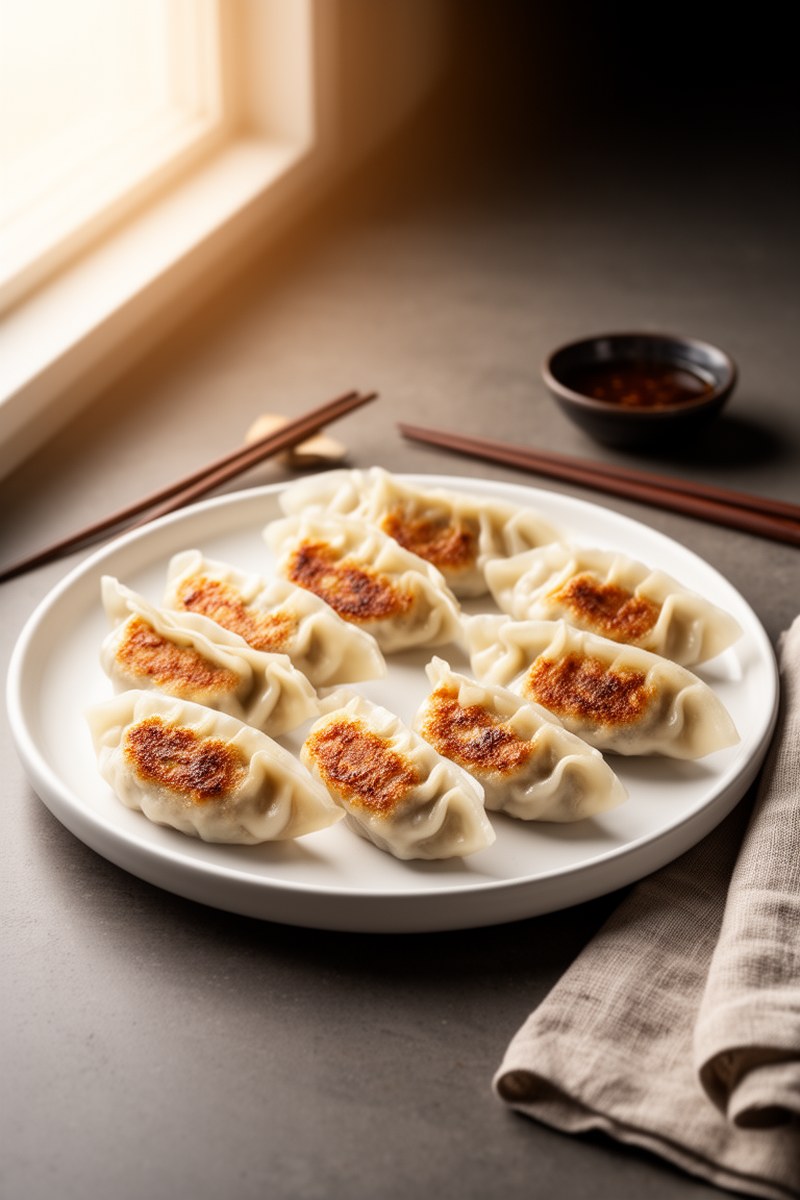
Slide the potstickers onto a plate browned-side up and serve immediately while the bottoms are still crispy. For the dipping sauce, whisk together 3 tbsp soy sauce, 2 tbsp rice vinegar, 1 tbsp sesame oil, 1 tsp chili oil, and a pinch of sugar. Plan for 5 to 6 dumplings per person as an appetizer, or 10 to 12 per person as a main dish.
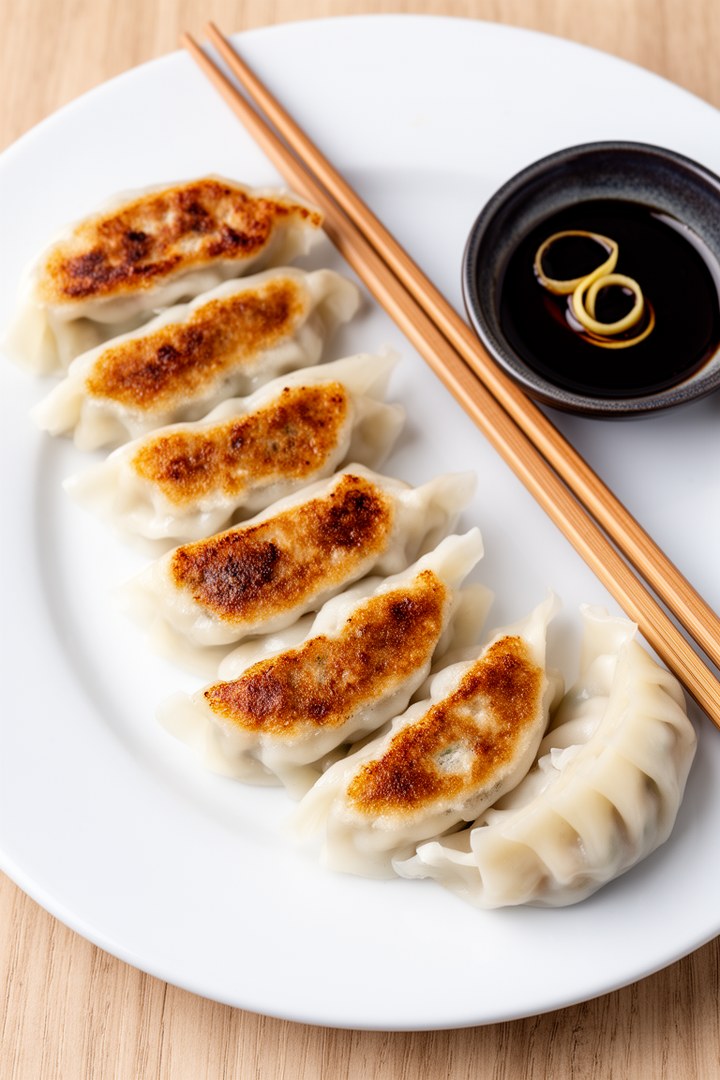
How Do I Know When Potstickers Are Done?
Three indicators: the bottoms should be a deep golden brown — not pale yellow, not black. The wrapper on top should look slightly translucent and feel tender when you press it lightly. And all the water in the pan should have fully evaporated before the final crisping step — if there’s still water when you remove the lid, the filling hasn’t steamed through completely. Give it another minute or two covered before uncovering to crisp. An internal temperature of 160°F (71°C) in the pork filling is food-safe confirmation if you have a probe thermometer.
Cook’s Notes and Tips
- Fat content is not negotiable: 20% fat minimum. Lean pork produces dry, dense filling — the fat renders during cooking and creates the juicy, slippery texture you’re after. If your supermarket only sells lean ground pork, add 1 tablespoon of lard or rendered pork fat.
- Mix in one direction: This technique, called the “strand method” in Chinese cooking, develops binding proteins in the meat so the filling holds together instead of crumbling. Stir clockwise (or counterclockwise — pick one and stick with it) for 2 minutes until the mixture feels slightly elastic.
- Don’t overfill: One rounded teaspoon is the maximum. More filling means the wrapper can’t seal properly and will burst during cooking. When in doubt, use less.
- Cover when adding water: Steam escapes fast; add the water and get the lid on within 2 seconds. If you wait, most of the steam is already gone and the filling won’t cook through.
- Let them release naturally: When the browning is done, use a thin spatula to test whether the potsticker releases cleanly. If there’s resistance, give it 30 more seconds — they release when they’re ready. Forcing them tears the wrapper.
How to Serve Potstickers
Serve immediately — potstickers lose their crispy bottom within minutes of leaving the pan. Dipping sauce is simple: a mix of soy sauce, rice vinegar, sesame oil, and a few drops of chili oil. Add a pinch of sugar to balance. Serve the potstickers browned-side up so the presentation shows the crust. As an appetizer, 5 to 6 per person works well. As a main, plan for 10 to 12 per person alongside a simple soup or stir-fried greens.
Substitutions for Pork and Chives
Ground chicken thigh (not breast — too lean) works well in place of pork; add 1 tablespoon of neutral oil to compensate for lower fat content. For a vegetarian filling: firm tofu pressed and crumbled with chopped cabbage, shiitake mushrooms, and glass noodles, seasoned the same way. Garlic chives can replace regular chives; scallions work at a pinch. The filling formula is flexible — the technique stays the same.
Make Ahead and Batch Cooking
Uncooked potstickers freeze exceptionally well. Arrange on a parchment-lined baking sheet in a single layer without touching, freeze until solid (1 to 2 hours), then transfer to a zip-lock bag. Cook from frozen: add 2 extra minutes to the steaming phase. Alternatively, freeze the filling for up to 1 month and thaw overnight in the refrigerator before filling and folding. Do not refrigerate assembled uncooked potstickers for more than 4 hours — the wrappers absorb moisture from the filling and become difficult to handle.
Storage and Reheating
Cooked potstickers keep refrigerated for up to 3 days. Reheat in a dry non-stick pan over medium heat, browned-side down, for 2 to 3 minutes until the bottom re-crisps. Don’t add water — the filling is already cooked and doesn’t need steaming. Alternatively, reheat in a 375°F (190°C) oven on a rack for 8 minutes. Avoid the microwave — it steams the wrapper and makes the bottom soggy.
Frequently Asked Questions
Can I use ground chicken instead of pork for potstickers?
Yes, but use ground chicken thigh, not breast. Breast is too lean and produces dry, dense filling. Thigh has enough fat to stay moist. Add 1 tablespoon of neutral oil to the filling mix to compensate for the lower fat content compared to pork. Season identically and use the same technique. The texture will be slightly lighter and less rich than pork, but the flavor works well with ginger and chives.
Why did my potstickers stick to the pan?
Usually one of three reasons: the pan wasn’t hot enough when the oil went in, the oil wasn’t hot enough when the dumplings went in, or you tried to move them before the bottom had crisped. Potstickers release naturally when their bottom has formed a proper crust. Test with a thin spatula — if there’s resistance, wait 30 to 60 seconds and try again. They will release cleanly when they’re ready. Forcing them tears the wrapper.
Can I freeze potsticker filling before wrapping?
Yes — freeze the raw filling in a zip-lock bag for up to 1 month. Thaw overnight in the refrigerator before using. The texture may be slightly wetter after freezing; if so, drain any excess liquid and add a small amount of cornstarch (1 teaspoon) to the filling to bind it before wrapping. Alternatively, shape filling into logs on plastic wrap, freeze solid, then unwrap and slice into portions for easier measuring.
What’s the difference between potstickers and gyoza?
Gyoza are the Japanese version of the Chinese potsticker (guotie). Gyoza wrappers are typically thinner and more delicate, the filling uses more cabbage and less ginger, and the flavor tends to be lighter. Chinese potstickers have a slightly thicker wrapper, more ginger and chives, and a more robust savory flavor. The cooking technique — pan-fry, steam, re-crisp — is identical. The two terms are often used interchangeably in the US, and most grocery-store “gyoza wrappers” are actually suitable for both.





Leave a Reply